Your first SnapToBrick
Meet the Calibration Llama
One tiny llama. Seven snap-together pieces. Download it and print it on your own 3D printer—no account or calibration needed.
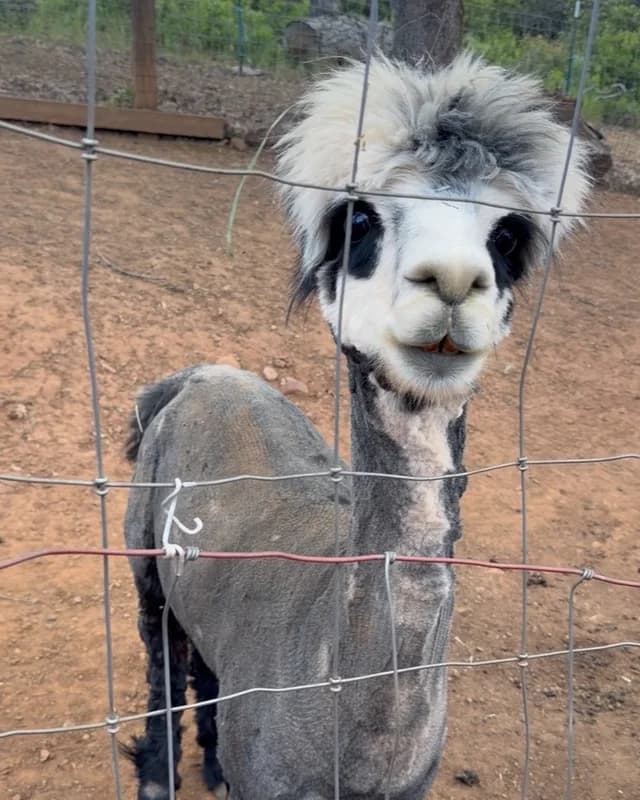
The muse
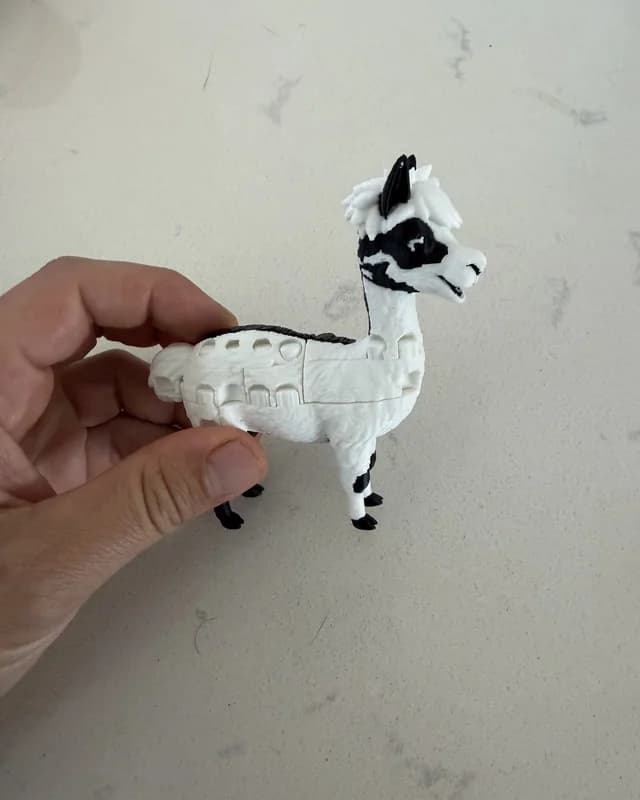
The print
Quick start
Llama in three steps
- 1
Get the print plate
On its page, find Downloads and choose Print Plate (OBJ). - 2
Slice it
Open the OBJ in your slicer and use your usual print settings. - 3
Print & snap
Use the Calibration Llama page's assembly animation and connect the pieces from the lowest layer upward.
When you are ready
Make your own creation
1. Upload a photoUse one clear subject with a simple outline.
2. Keep the defaultsChoose your printer, leave Bumped grip and Calibration at +0.000 mm, then create.
3. Print the plateDownload Print Plate (OBJ) and follow the same three steps above.
OptionalNeed a better fit? Calibrate
Skip calibration for your first Calibration Llama. Come back only if the cooled pieces are too tight or too loose, or after changing printer, filament, nozzle, or print profile. The coupons work with the default Bumped grip only.
−0.050 mm
Tighter
+0.000 mm
Default
+0.050 mm
Looser
+0.100 mm
Loosest coupon
Calculate my fit result
0 of 4 selected